

Edit Video In After Effects
How can I arrange and play frames vertically each on top of the other in After Effects?

In After Effects, arranging and playing frames vertically, one on top of the other, can be achieved using the following steps:
- Import Footage: Import the footage or images you want to stack vertically into your After Effects project.
- Create Composition: Create a new composition by clicking on "Composition" > "New Composition" in the menu bar, or use the shortcut Ctrl+N (Cmd+N on Mac). Set the dimensions and duration of your composition according to your project needs.
- Arrange Layers: Drag your footage or images from the Project panel into the Timeline panel to create layers. Arrange them in the order you want them to appear vertically. You can adjust the duration of each layer by dragging the ends of the layer in the Timeline panel.
- Adjust Position: Select each layer in the Timeline panel and adjust their position properties to stack them vertically. You can do this by selecting a layer and then using the Position property in the Transform section of the layer's properties. Increase or decrease the Y-position value to move the layer up or down.
- Pre-compose (Optional): If you want to group your layers for easier management, you can select them all in the Timeline panel, right-click, and choose "Pre-compose." This will create a new composition containing your selected layers.
- Preview: Use the spacebar or the Play button in the Preview panel to preview your composition and make sure the layers are stacked vertically as you desire.
- Adjust Timing (Optional): If necessary, adjust the timing of your layers by trimming them in the Timeline panel to achieve the desired timing and pacing.
- Render: Once you're satisfied with the arrangement and timing of your layers, you can render your composition by going to "Composition" > "Add to Render Queue" and then adjusting the render settings as needed. Finally, click on "Render" to export your composition.
How To Crop Video In After Effect?
To crop footage or images in After Effects, you can use a few different methods depending on your specific needs. Here's a basic method to crop layers in After Effects:
- Select Layer: Select the layer you want to crop in the Timeline panel.
- Open Layer Properties: If the layer's properties are not already visible in the Timeline panel, you can reveal them by pressing the "U" key twice quickly while the layer is selected. This action will display all animated properties for the layer.
- Crop using Masks:
- Rectangular Mask: One way to crop a layer is by using a mask. To do this, select the layer, then click on the Rectangle tool in the Toolbar at the top of the interface (or press the "Q" key). Click and drag to create a rectangular mask over the area you want to keep. You can adjust the mask's position and size by selecting the mask's points and dragging them, or by adjusting the Mask properties in the Timeline panel.
- Ellipse Mask: Similarly, you can use the Ellipse tool to create a circular mask for cropping.
- Pen Tool: For more complex shapes, you can use the Pen tool to draw a custom mask around the area you want to keep.
- Invert Mask (Optional): If you want to keep the area outside of the mask instead, you can invert the mask by selecting the mask and pressing the "Invert" button in the Mask properties in the Timeline panel.
- Adjust Mask Feathering (Optional): You can adjust the feathering of the mask to create smoother transitions between the cropped and non-cropped areas. This can be done by adjusting the Feather property in the Mask properties in the Timeline panel.
- Preview: Preview your composition to make sure the cropping is as desired.
- Fine-tune as Needed: You can adjust the mask's position, size, and feathering as needed to achieve the desired cropping effect.
How to remove a solid colour background In After Effects
To remove a solid colour background from footage or an image in After Effects, you can use various techniques, including keying and masking. Here's a general approach using keying:
- Keying Method:
- Select the Layer: Import your footage or image with the solid colour background into After Effects and place it in the Timeline panel.
- Apply Keying Effect: In the Effects & Presets panel, search for keying effects such as "Keylight," "Ultra Key," or "Color Key" depending on your version of After Effects. Drag the keying effect onto your layer in the Timeline panel.
- Key Settings: Adjust the key settings, such as the key colour or key type, to target and remove the solid colour background. Use the keying effect's controls to fine-tune the selection until the background is effectively removed.
- Refinement: You may need to adjust additional settings like matte generation, edge feathering, and suppression to refine the key and ensure a clean removal of the background.
- Preview: Preview your composition to ensure that the solid colour background is successfully removed and that any remaining artefacts are minimized.
- Masking Method:
- Create a Mask: Another method is to manually mask out the solid colour background using masks. Create a new solid layer above your footage layer and apply a mask to it, drawing the mask around the area you want to keep. Then, set the mask mode to "Subtract" or "Difference" to remove that area from the layer below, effectively removing the background.
- Refinement: Adjust the mask's shape and feathering to blend the edges smoothly and ensure a seamless removal of the background.
- Preview: Preview your composition to ensure the background removal looks natural and seamless.
- Rotobrush Method:
- Select Layer: Use the Rotobrush tool to automatically isolate and remove the solid colour background from your footage.
- Enable Rotobrush: Select the layer in the Timeline panel and click on the Rotobrush tool in the Toolbar at the top of the interface.
- Brush Over Background: Use the Rotobrush tool to brush over the solid colour background, allowing After Effects to automatically generate a matte for the foreground subject.
- Refinement: Refine the matte using the Refine Edge tool and adjust settings as needed to improve accuracy.
- Preview: Preview your composition to ensure the background removal is accurate and clean.
How do I apply every change I make?
In After Effects, changes you make to your composition are applied automatically as you make them. However, there are some actions you may need to take to ensure changes are properly applied and visible:
- Previewing Changes: To see the effect of changes you've made, you'll need to preview your composition. Press the spacebar to start and stop playback, or use the RAM Preview feature (shortcut: 0 on the numeric keypad) to render and preview your composition in real time.
- Rendering: If you're satisfied with your composition and want to export it, you'll need to render it. Go to "Composition" > "Add to Render Queue" to add your composition to the render queue. Then, adjust the render settings as needed and click "Render" to export your composition.
- Saving: After making changes, it's important to save your project regularly to ensure you don't lose any work. Use the shortcut Ctrl+S (Cmd+S on Mac) to save your project.
- Applying Effects and Adjustments: Effects and adjustments you apply to layers are typically applied in real time as you make them. However, if you're using certain effects that require rendering, such as some keying or blurring effects, you may need to wait for them to render before seeing the full effect.
- Finalizing Changes: Once you're satisfied with your composition and have previewed it to ensure everything looks as expected, you can finalize your changes by rendering and exporting the composition.
How do I crop and apply the cropping changes?
To crop a layer in After Effects and apply the cropping changes, you can use masks. Here's how to do it:
- Select Layer: Select the layer you want to crop in the Timeline panel.
- Create Mask: Click on the Rectangle tool (or any other masking tool you prefer) in the Toolbar at the top of the interface, or press the "Q" key to activate the Rectangle tool. Then, click and drag to create a rectangular mask over the area you want to keep. Release the mouse button when you've drawn the desired shape.
- Adjust Mask Position and Size: To adjust the position and size of the mask, you can use the Selection tool (shortcut: V) to click and drag the mask's control points. You can also use the Mask Path property in the Timeline panel to fine-tune the mask's shape and position.
- Feather Mask (Optional): If you want to soften the edges of the cropped area, you can adjust the feathering of the mask. Select the mask in the Timeline panel and adjust the Feather property to your desired value.
- Apply Changes: The cropping changes are applied automatically as you create and adjust the mask. You can preview the result by playing back your composition in the Timeline panel.
- Fine-tune as Needed: If necessary, continue adjusting the mask's position, size, and feathering until you're satisfied with the cropping effect.
- Preview and Render: Preview your composition to ensure the cropping effect looks as expected. Once you're satisfied, you can render your composition by adding it to the render queue ("Composition" > "Add to Render Queue") and adjusting the render settings as needed.
- Save Project: Finally, remember to save your project to preserve your changes. Use the shortcut Ctrl+S (Cmd+S on Mac) to save your project.
How can I increase the workspace?
In After Effects, you can increase your workspace by adjusting the size and layout of panels within the application. Here are some ways to do it:
- Panel Layouts:
- After Effects offers several preset workspace layouts, such as Standard, Animation, and Editing. You can choose a layout that suits your needs by selecting it from the Workspace menu at the top of the application window.
- Adjust Panel Sizes:
- Hover your cursor over the border between panels until it changes to a double-sided arrow. Then, click and drag to resize the panels. You can adjust the size of the Timeline panel, Composition panel, Project panel, and other panels to create more space for your work.
- Hide Panels:
- You can temporarily hide panels that you don't need by clicking on the panel's tab and dragging it to the edge of the application window until it disappears. To bring the panel back, simply click on its tab in the panel group or use the Window menu to re-enable it.
- Custom Workspaces:
- Create a custom workspace layout by arranging panels to your preference. Once you've arranged the panels how you like them, go to the Workspace menu and select "New Workspace" to save your custom layout. You can then switch to this layout whenever you need it.
- Fullscreen Mode:
- Press the tilde key (`) to toggle fullscreen mode, which hides all interface elements except for the active panel. This can provide more screen real estate for your work.
- Multiple Monitors:
- If you have multiple monitors, you can extend the After Effects workspace across them to create more space for your work. Go to the Preferences menu > Display and check "Allow Scripts to Write Files and Access Network" to enable multi-frame rendering, which can improve performance when using multiple monitors.
I want to create casino animation with After Effects
Creating a casino animation in After Effects can be a fun and engaging project. Here's a basic guide to get you started:
- Conceptualize Your Animation:
- Decide on the theme and elements you want to include in your casino animation. This could include items like playing cards, dice, roulette wheels, slot machines, poker chips, and more.
- Gather Resources:
- Collect any images, graphics, or footage you'll need for your animation. You can create your assets or use stock images and footage available online.
- Create a New Composition:
- Open After Effects and create a new composition by going to "Composition" > "New Composition." Set the dimensions, duration, and frame rate for your animation.
- Import Assets:
- Import your graphics, images, and footage into the After Effects project by going to "File" > "Import" > "File" and selecting the files you want to use.
- Animate Elements:
- Use After Effects' animation tools to animate the elements of your casino scene. For example:
- Animate playing cards flipping or shuffling.
- Create spinning roulette wheels or rolling dice.
- Add motion graphics to simulate the spinning reels of a slot machine.
- Use keyframe animation to create movement and transitions between different elements.
- Use After Effects' animation tools to animate the elements of your casino scene. For example:
- Add Visual Effects:
- Enhance your animation with visual effects to make it more dynamic and engaging. After Effects offers a wide range of effects you can apply to your layers, such as glow, blur, colour correction, and more.
- Utilize 3D Space (Optional):
- If you want to create a more immersive casino environment, consider using After Effects' 3D capabilities to place elements in three-dimensional space. This can add depth and realism to your animation.
- Add Sound Effects and Music:
- Enhance your animation with sound effects like card shuffling, dice rolling, and slot machine sounds. You can also add background music to set the mood of your casino scene.
- Preview and Adjust:
- Preview your animation in After Effects to see how it looks and make any necessary adjustments to timing, effects, or animation keyframes.
- Render and Export:
- Once you're satisfied with your animation, render it by going to "Composition" > "Add to Render Queue." Adjust the render settings as needed, then click "Render" to export your animation as a video file.
- Share Your Animation:
- Share your completed casino animation with others by uploading it to video-sharing platforms, embedding it on your website, or using it in presentations or social media posts.
How can I save a video in .mp4 format and reduce size in Adobe After Effects?
To save a video in .mp4 format and reduce its size in Adobe After Effects, you can follow these steps:
- Composition Settings:
- Before exporting your video, ensure that your composition settings are optimized for the desired output. Go to "Composition" > "Composition Settings" and adjust the resolution, frame rate, and other settings as needed. Lower resolutions and frame rates can help reduce file size.
- Composition Length:
- Trim your composition to remove any unnecessary frames or sections that are not required for the final video. This can help reduce the overall file size.
- Export Settings:
- Go to "Composition" > "Add to Adobe Media Encoder Queue" to add your composition to the Adobe Media Encoder queue for exporting.
- In Adobe Media Encoder, select the output format as H.264, which is a common format for .mp4 files. You can choose the preset that matches your desired output resolution and quality, or customize the settings further.
- In the Video tab of the Export Settings, you can adjust parameters such as bitrate, which directly affects the file size. Lowering the bitrate will decrease the video quality but also reduce the file size. Finding the right balance between quality and file size is essential.
- You can also adjust other settings such as resolution, frame rate, and codec options to further optimize the file size.
- Export:
- Once you've adjusted the export settings, click on the green Start Queue button in Adobe Media Encoder to start the export process. Adobe Media Encoder will encode your video according to the specified settings and save it as a .mp4 file.
- Preview:
- Preview the exported video to ensure that the quality meets your requirements. If necessary, you can go back to After Effects to make adjustments and re-export the video.
End of Article
End of Article
End of Article
End of Article

About The Author
Hello, I'm Patrick Wilson — an entrepreneur, artist, and storyteller driven by curiosity and passion. Through this blog, I explore and share meaningful content around a wide spectrum of lifestyle and success topics that matter to everyday people looking to live better, earn more, and grow intentionally.
From building a personal brand and making money online through proven digital strategies, to navigating the journey of personal finance and wealth-building — I bring real-world insights and tools to help you take control of your financial future.
I also document my pursuit of a healthy, balanced life — sharing inspiration around achieving fitness goals and living with purpose. As someone who appreciates both the aesthetic and the soulful, I dive deep into fine art, cultural history, and the enriching nuances of everyday lifestyle.
Whether I'm exploring breathtaking travel destinations across the globe or tending to the joys of home and garden, I aim to bring beauty, clarity, and useful ideas to every post.
If you're passionate about growth — financially, creatively, or personally — this blog is designed to inspire and support your journey.
Thanks for being here — let's grow together.

Monetize Your Blog Effortlessly with Magenet
Magenet empowers bloggers and site owners to earn passive income by seamlessly integrating contextual ads. Whether you run a niche blog or a high-traffic site, Magenet provides a reliable way to turn your site into a powerful income engine. Start Earning with Magenet →
Trade Smarter with Olymp Trade – 10 Years of Innovation
Olymp Trade has spent over a decade building a powerful platform for modern traders. Whether you're just starting or already experienced, you’ll find intuitive tools, educational resources, and a user-first design. With a reputation for reliability, global reach, and a seamless mobile experience, Olymp Trade helps you navigate the markets with clarity and confidence. Join millions who are making informed trades today. Start Trading Now →Related Posts
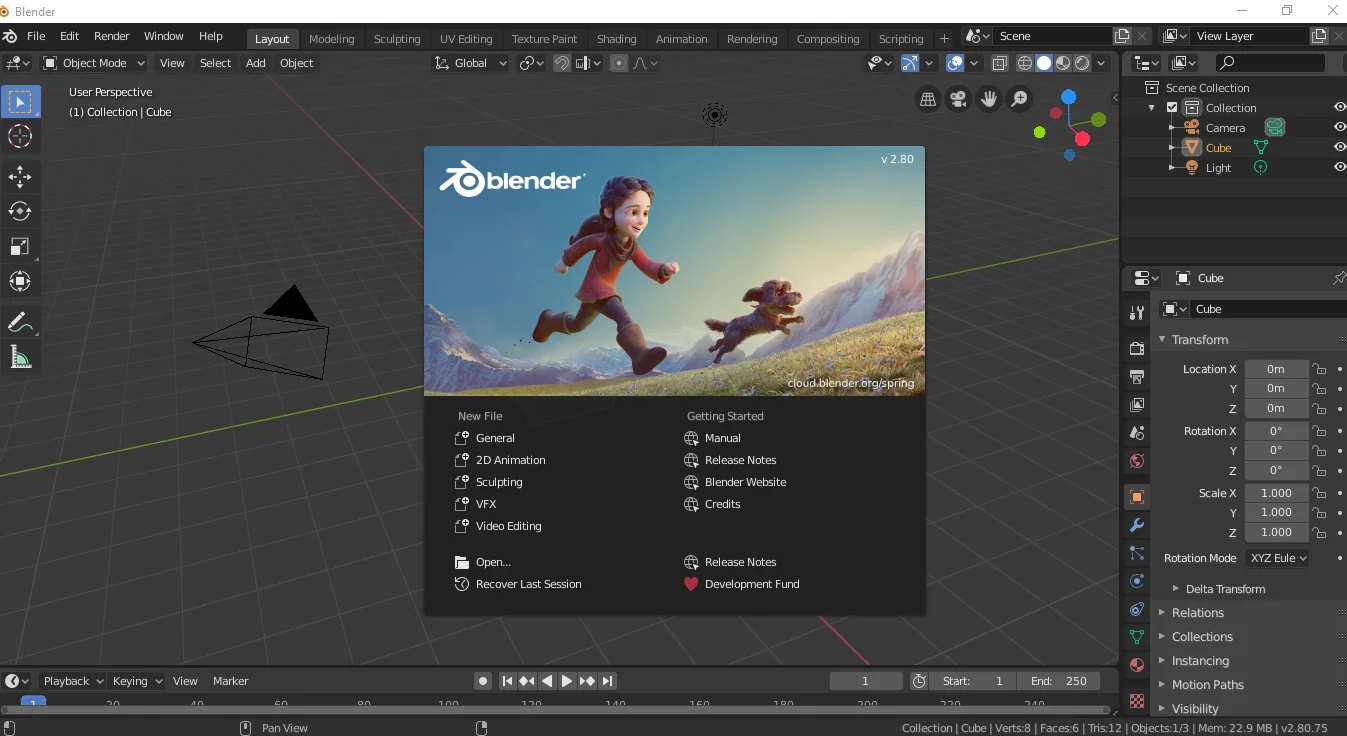
A Step-by-Step Blender Guide for Beginners
Mastering Blender: A Step-by-Step Blender Guide for Beginners Introduction Blender is a po...

Top Ten 3D Technology Open Source Applications
Top Ten 3D Technology Open Source Applications What Is 3dimension (3D) Three-dimensional 3D tech...
Purchase Smartphones Online

Updating an Oppo A11w (also known as Oppo Joy 3) from Android 4.4.2
Updating an Oppo A11w (also known as Oppo Joy 3) from Android 4.4.2 to a higher version using OTA (...
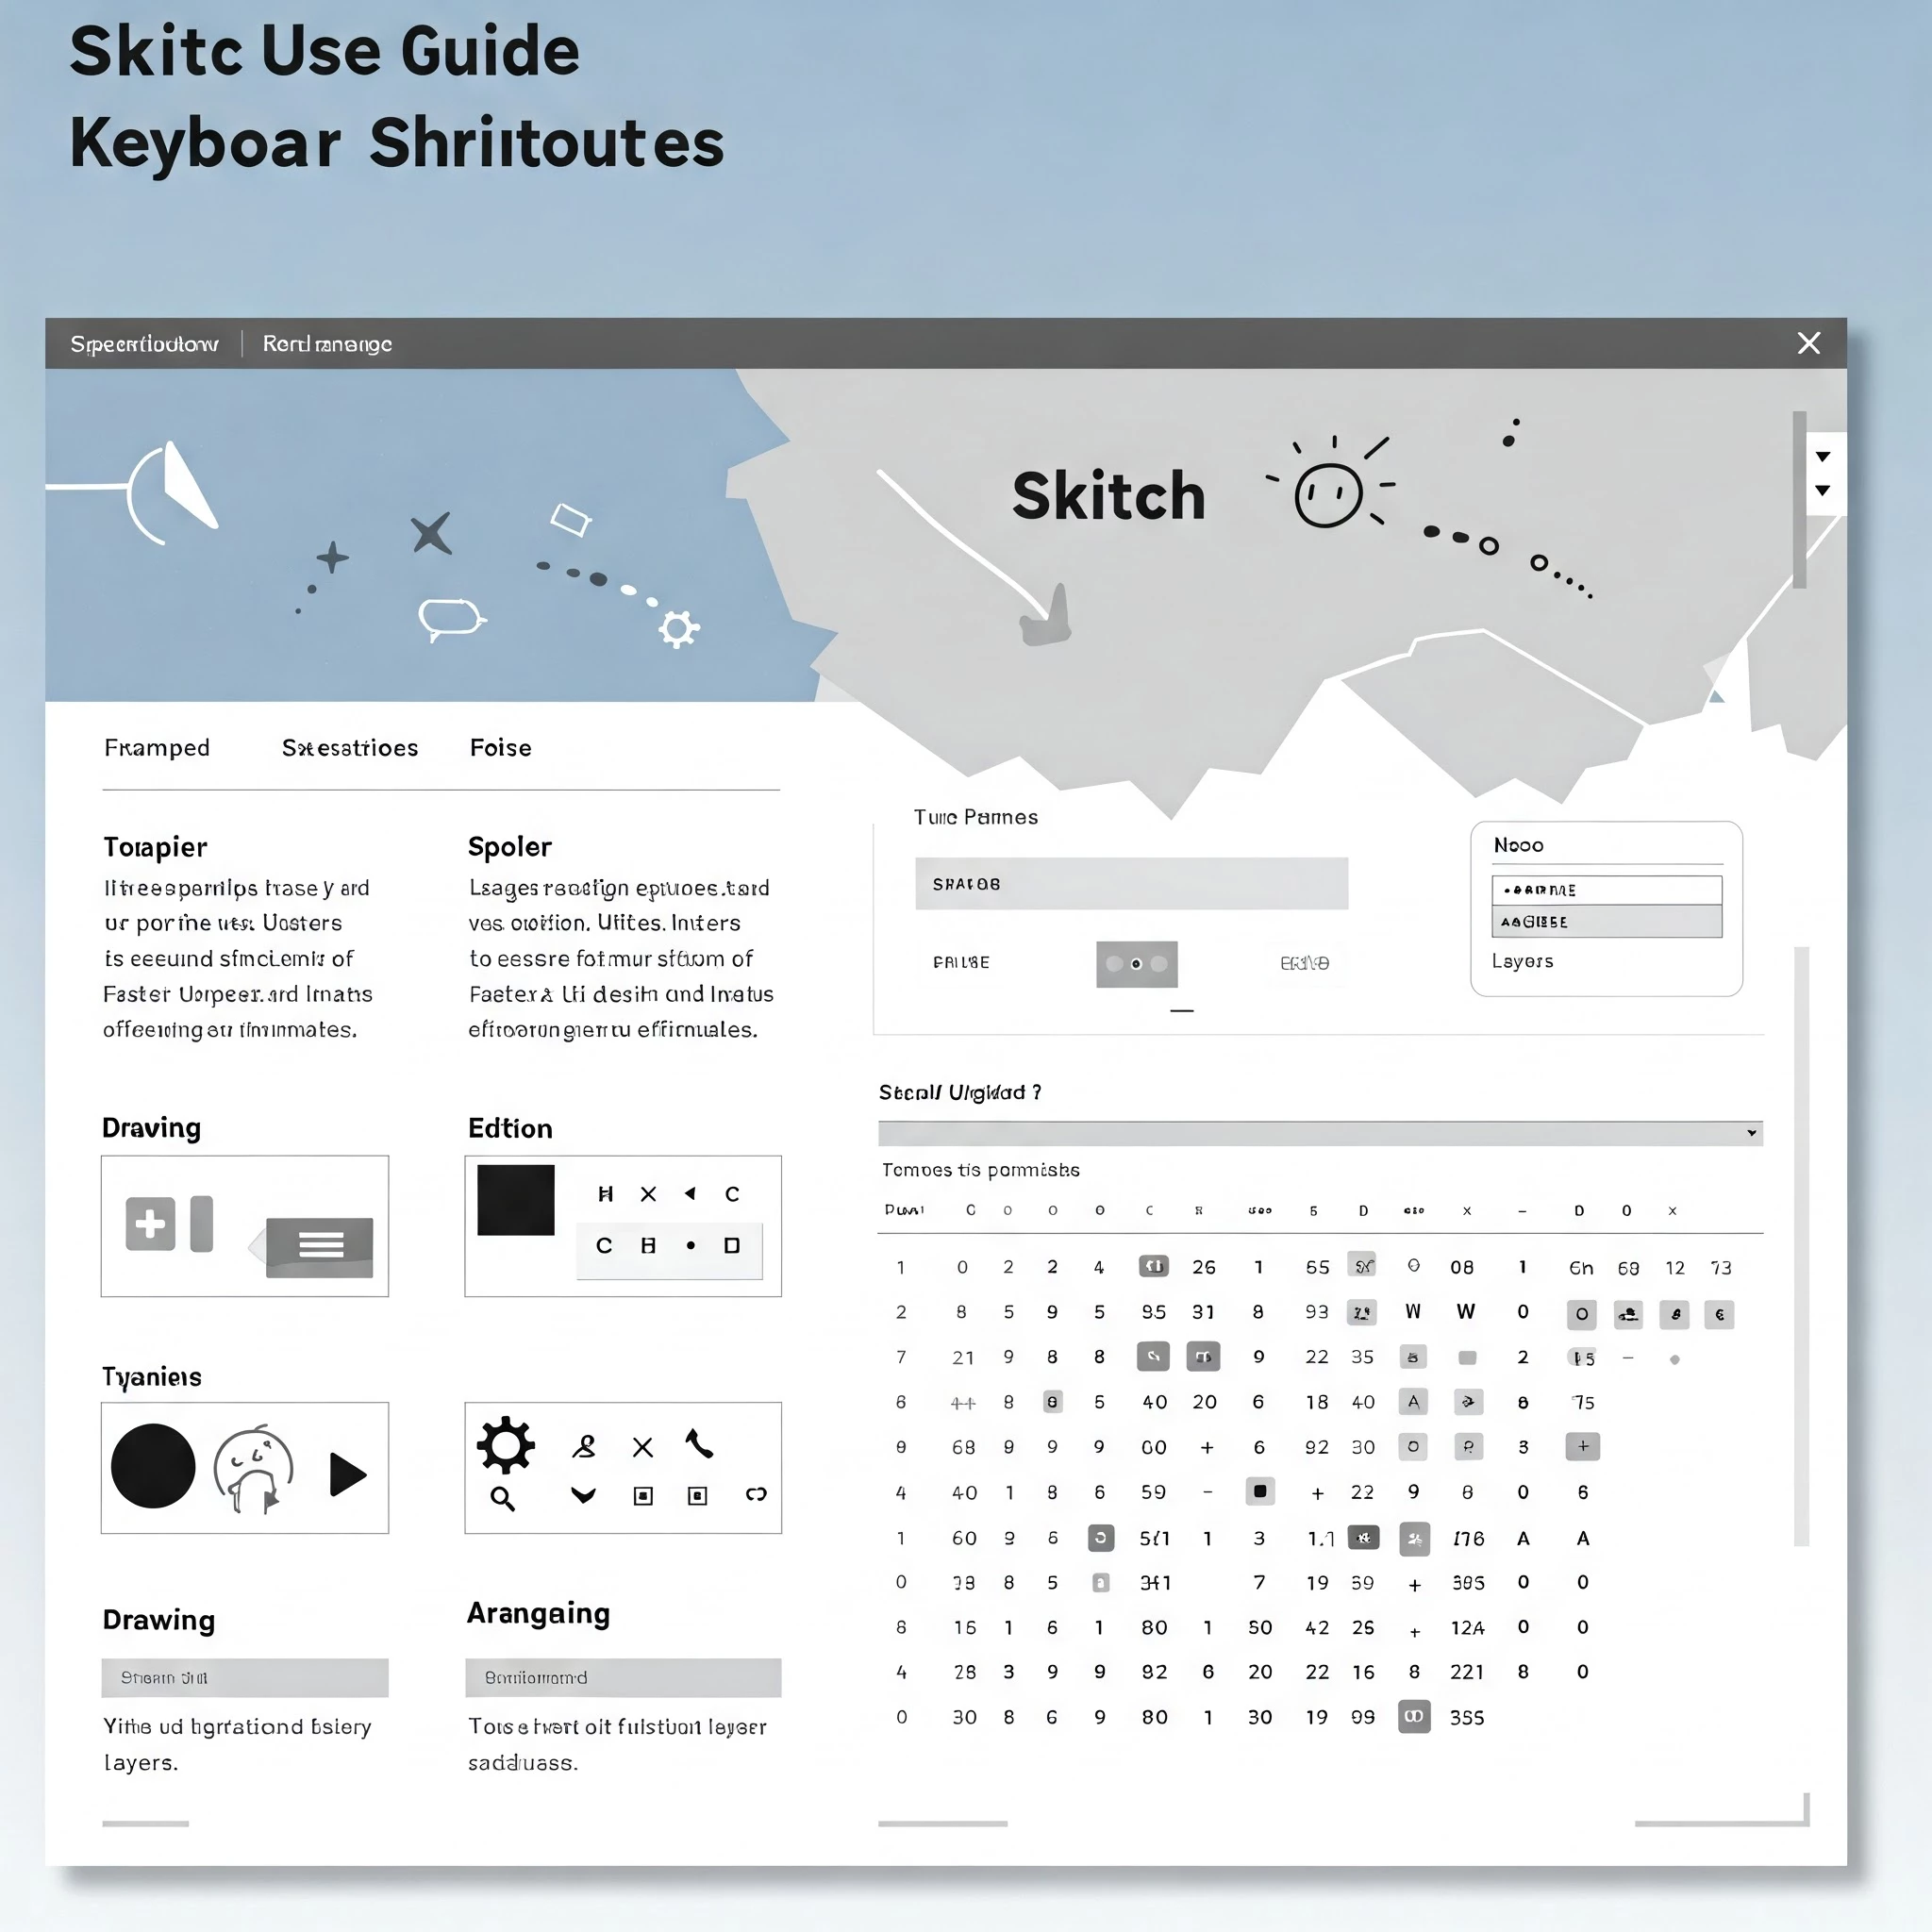
How to Use Sketch: Shortcuts for UI Design
How to Use Sketch: Shortcuts for UI Design Boost your UI design efficiency with Sketch ...


Comments